Odyssey DLx® Imager Acquire Tab
The Acquire tab shown below contains controls for acquiring a new image with the Odyssey CLx Imager (discontinued) or Odyssey DLx Imager. The instructions on this page apply to the Odyssey CLx Imager and the Odyssey DLx Imager.

Setup
Scan Preset
Use the Scan Preset list  in the Setup group to save the current settings as a scan preset, to select a previously saved scan preset, or to delete a selected scan preset. A scan preset determines the Analysis Type, Channels to use, Channel Intensity settings, Resolution, Quality, and Scan Area settings.
- Click Save Current Scan Preset to save the current scan settings as a scan preset. You can enter a name for the scan preset and it will be saved in the Scan Preset list.
- Choose a previously saved scan preset from the Scan Preset list by clicking its name.
- To delete a scan preset, click Delete Scan Preset from the Scan Preset list. The Delete Scan Presets dialog will open so you can choose which scan preset(s) should be deleted.
Analysis Type
Use the Analysis Type list  in the Setup group to specify the type of analysis to perform when an acquisition completes. You can also choose No Analysis to perform manual analysis.
If an analysis type is selected, the analysis is automatically applied when the acquisition is complete. The previous analysis will be used unless a different analysis is chosen.
Possible analysis types are listed below. Click a link to open the help topic for that Analysis Type.
- Western Analysis
- MPX™ Western Analysis
- DNA Gel Analysis
- Plate Analysis
- Plate Array Analysis
- Grid Analysis
- Grid Array Analysis
- In-Cell Western™ Analysis
- Small Animal Image Analysis
No Analysis: To analyze data manually, select No Analysis from the Analysis Type list. When the acquisition completes, click the Analysis tab and choose an Analysis Type from the Analysis Type list in the Type group. Select Manual if you want to manually add shapes (the Image Studio Lane background method is unavailable when using a Manual analysis).
Image Table Info
To enter values for user-editable columns in the Images table:
-
Click Image Table Info
 in the Setup group.
The Image Table Information dialog will open.
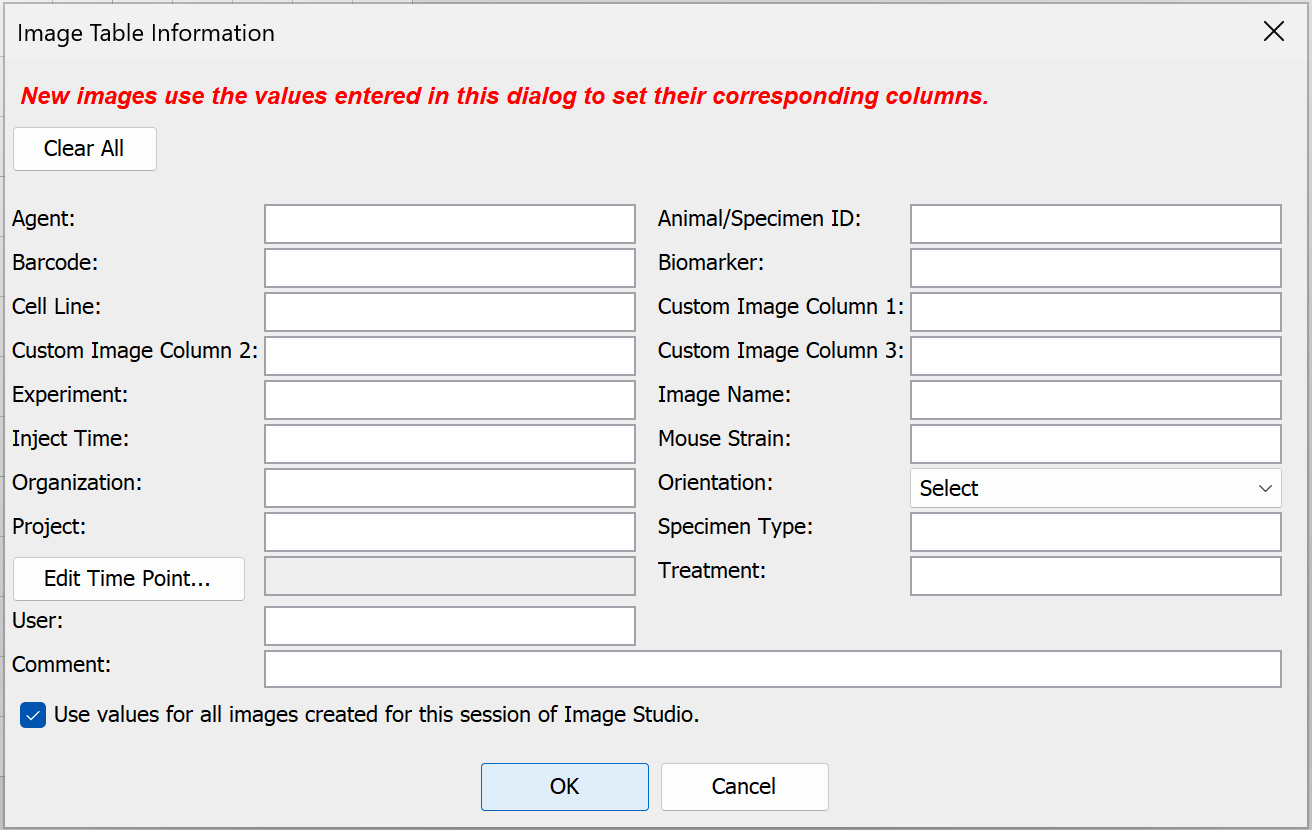
- In the Image Table Information dialog, enter values in any available field.
- Click OK. The values you entered will be saved to the Images table for the acquisition.
Channels
Options in the Channels group allow you to select the channel(s) to image and control the scan intensity. Each channel contains an image produced by a specific detection wavelength. Acquisition channels can be viewed overlaid or individually.
The Intensity fields control the detector sensitivity and affect the band intensity on the image.
- If the intensity is set too high, the detector may saturate and produce white areas in the middle of intense bands/dots. Saturated pixels are colored blue when the image is displayed in grayscale (see the Display topic for how to display images in grayscale).
- If the intensity is set too low, the image may not show any fluorescence even though there is adequate signal from the samples.
To set intensities:
-
When Auto
 is selected (the Auto button will have a blue background, see below), the channel intensities are set to Auto and a wide dynamic range image is captured.
-
When Auto
is unselected, set the channel intensities manually for each channel. A lower dynamic range image will be captured.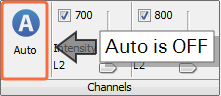
Do not use Auto mode when imaging small animals with the MousePOD® Accessory.
Scan Controls
Use options in the Scan Controls group to set the Resolution, Quality, and Focus Offset. Use Flip Image to automatically show the acquired image flipped top to bottom (useful for microplate images).

- Scan Resolution— Select 169 µm for most scans. This is the distance the scanner travels between readings. Shorter distances (21 µm) will give higher resolutions that provide more image details but create large image files. Longer distances (337 µm) will give lower resolutions that provide small image files but do not offer fine image details.
- Scan Quality — Select the scan quality that affects the time and quality aspects of the scan. The lowest quality setting sets the fastest scan speed. Increasing the quality results in slower scan speeds, as more detector readings are processed for a given area. The Lowest scan setting gives the fastest scan time and is appropriate for most scans.
- Focus Offset — Select the Focus Offset value from the list or enter a value by choosing the Enter Value menu item.
- Flip Image — When selected the image is automatically flipped top to bottom.
Scan Area
The Display Image in Scan Area list contains options for which image to display in the scan grid.
There are three choices in the list:
- No Image — Do not display an image in the scan grid
- Current Image — Display the current image from the image table in the scan grid
- Last Acquired — Display the last acquired image in the scan grid
Use the other controls in the Scan Area group to determine the area(s) of the scan bed to image
- Draw New — Draw the scan area by clicking the image at the upper left point and dragging the mouse to the lower right point of area to scan. Click and drag (move) the scan area rectangle for further refinement. Any previously existing scan regions are replaced by this scan area.
- Split — Split selected scan areas into multiple regions. The selected scan areas are split and evenly spaced in a row/column format. Multiple selected scan areas can optionally be merged into one area before splitting.
- Add — Add a new scan area by clicking the image at the upper left point and dragging the mouse to the lower right point of the new area to scan. Click and drag (move) the scan area rectangle for further refinement.
- Copy— Copies selected scan areas. A new scan area is created and selected that can be moved or resized.
- Scan Area Location — Displays the X, Y, Width and Height controls for the selected scan area.The Acquire Image View cursor location is also displayed.
Scanner
Use the controls in the Scanner group to Start the scan. Use Preview to show the image as it is being scanned.
- Start — Starts the image acquisition using the currently displayed parameter values. The status of the acquisition is displayed in the Status group. It also shows the channel being acquired, and the acquisition is listed in the Images Table.
- Preview — Creates a fast, low resolution preview image.
- Stop — Stops the current acquisition at the current point of collection.
- Cancel — Cancels the current acquisition. All existing and pending channel images are discarded.